Come visit us in booth #259 Jan 30-Feb 1 at SPIE Photonics West 2024!
Lumetrics develops and manufactures precision non contact thickness measurement and optical inspection systems for ophthalmic, medical, glass, barrier films, automotive, and semiconductor industries. Our breakthrough precision thickness measurement technology is fast, accurate, flexible, and scalable to most QA laboratories, R&D centers, or production lines. With our personalized service, every client benefits from direct collaboration with our engineers. Lumetrics provides off-the-shelf products as well as custom metrology solutions and discovery service to meet your needs.
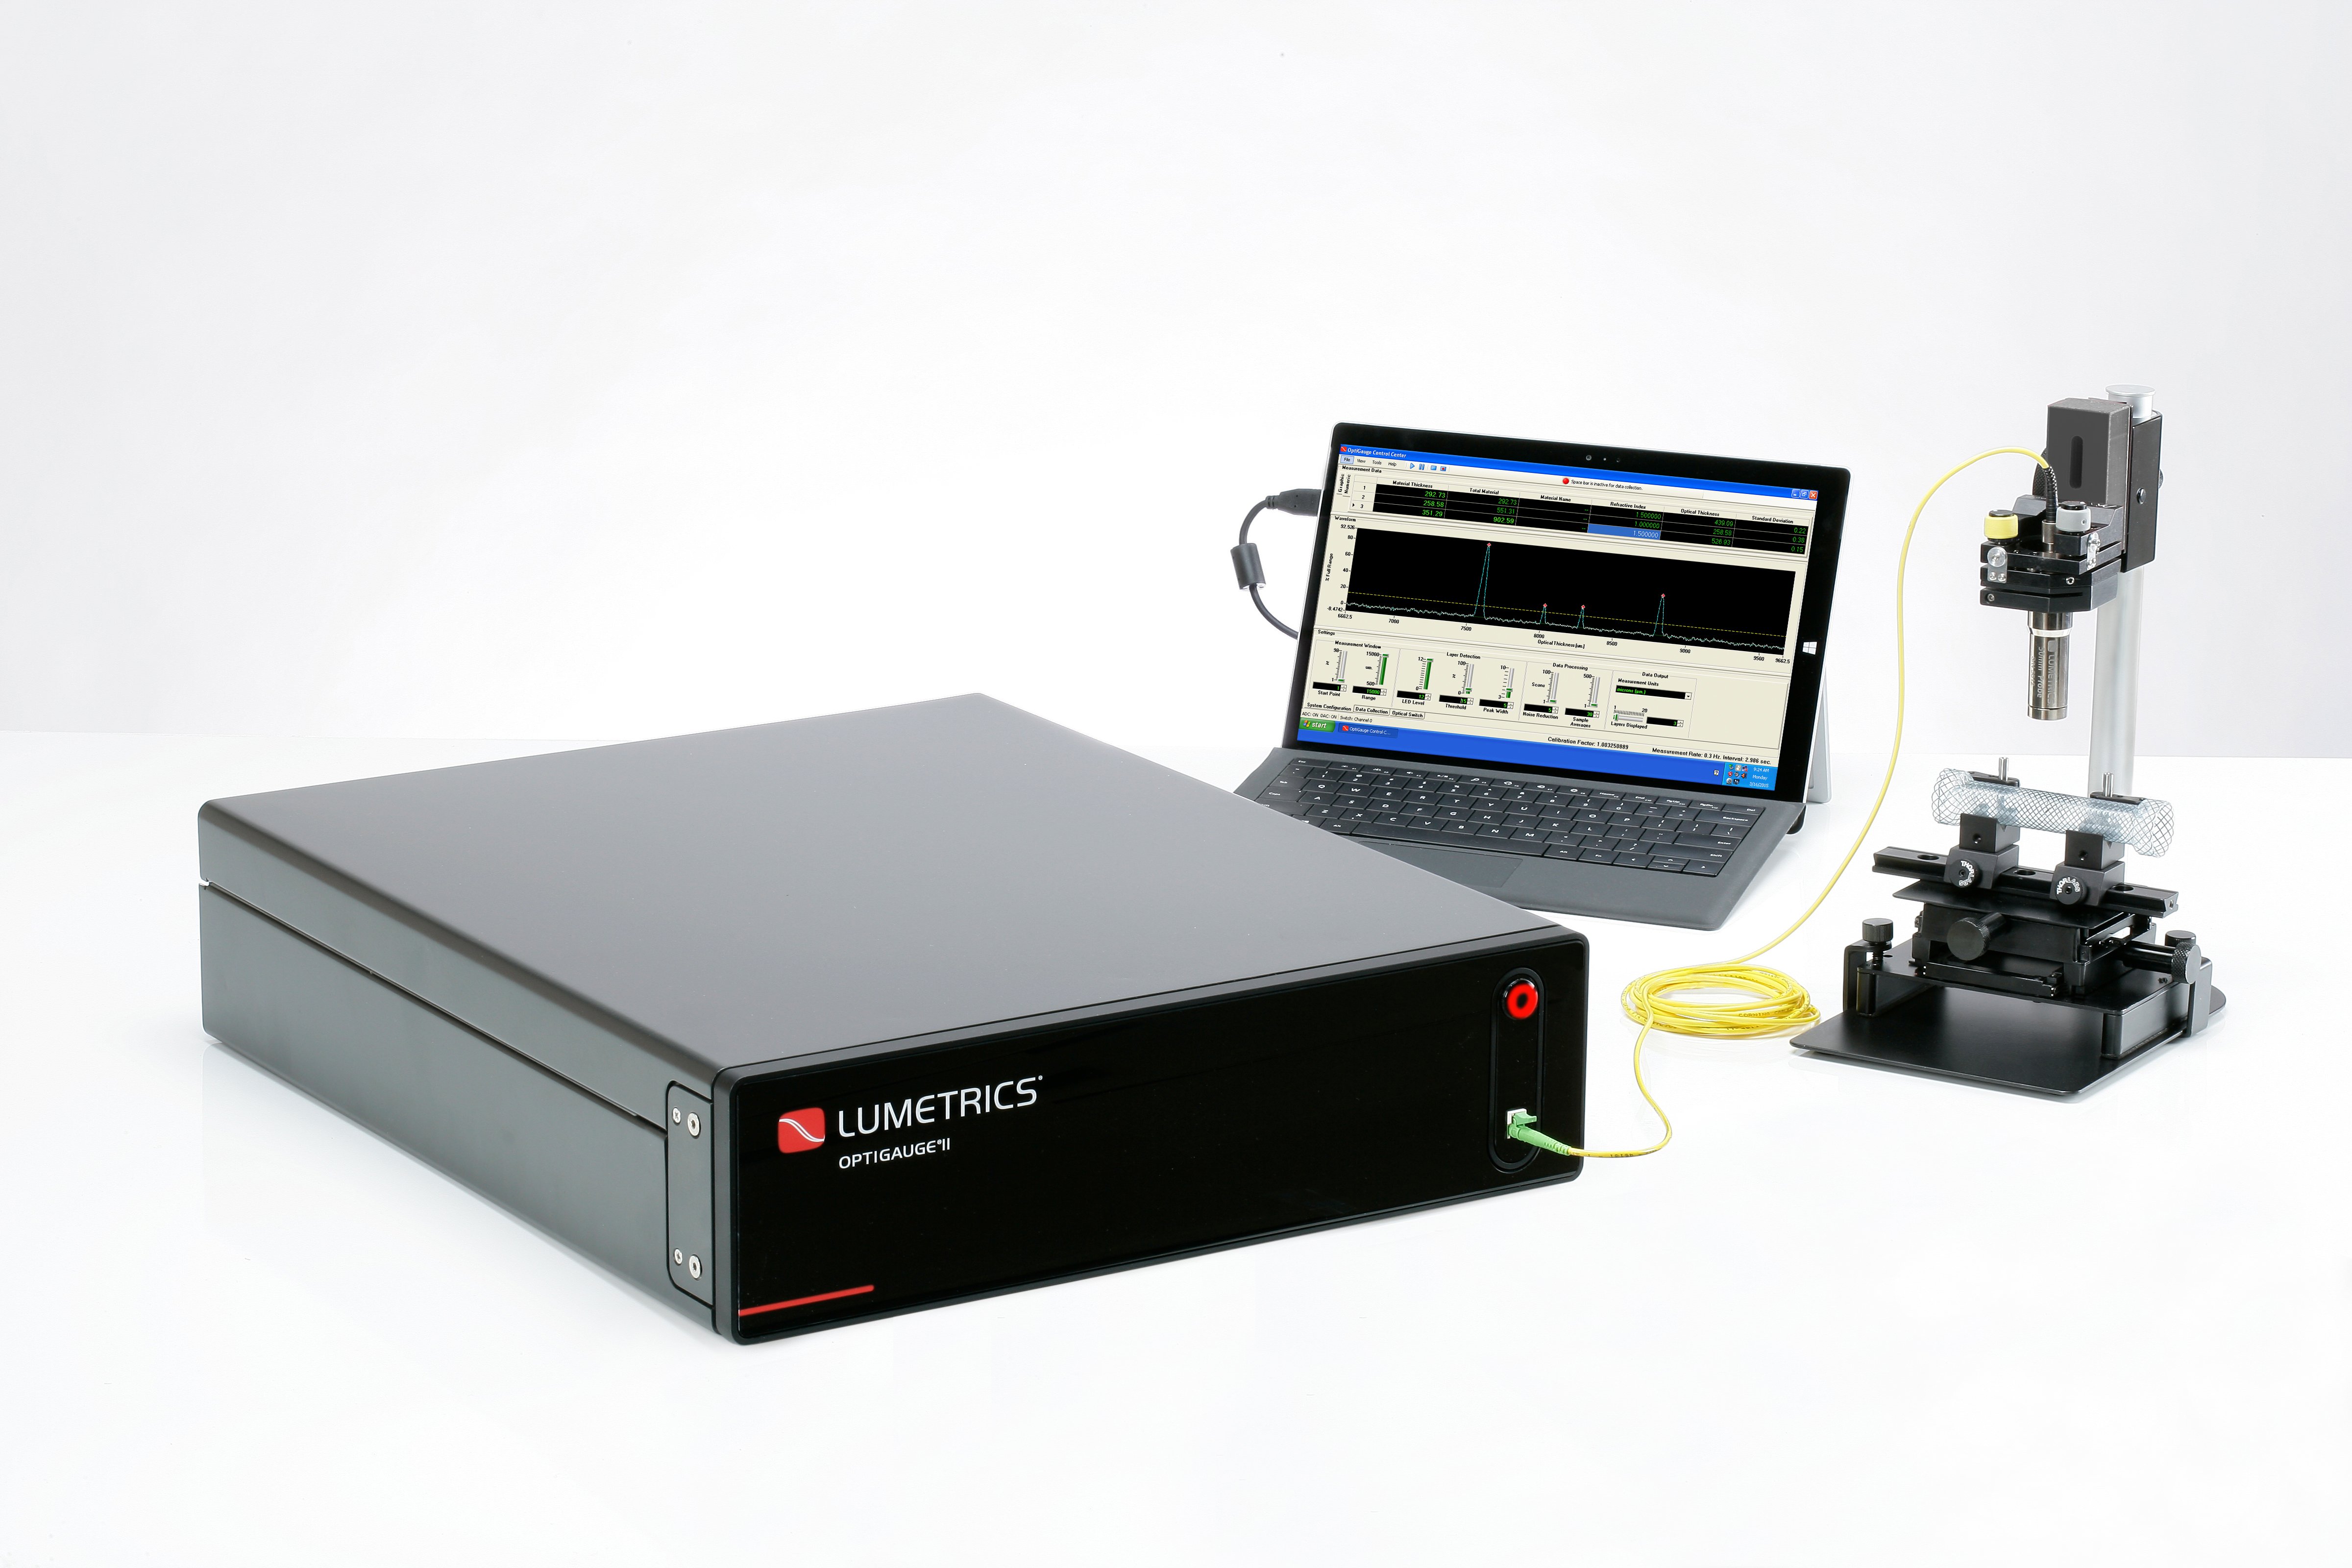
If you would like to discuss our multi-spectral low coherence interferometry capabilities, or see a measurement demonstration of the OptiGauge II capabilities using your own samples at our booth during the show, please fill out the form below! We do accept "walk-in" appointments as well. Click the image below to enlarge.
Get your free pass from Lumetrics to attend Photonics West 2024 here!
Meet with our team in person for a sample measurement demonstration at our booth:
Share your information in the form and we'll get in touch shortly to talk about your application's specific measurement requirements. Our engineering capabilities and expertise can solve measurement challenges in some of the most complex applications:
Product Portfolio

OptiGauge II

OptiGauge 600

OptiGauge MIR

Custom Metrology
Videos
Lumetrics Non-contact Thickness Measurement Solutions
Multi layer Measurement of a Glass Stack Using a Robot and OptiGauge
Measuring Wafer Thickness and Profile
TECHNICAL PAPERS/NEWS
Lumetrics Technical Paper: Low-Coherence Interferometry for Mid-Infrared Precision Optics Manufacturing
Our latest technical paper reviews how low-coherence interferometry for mid-infrared precision optics manufacturing can increase quality throughput and reduce defective products.
Lumetrics Blog: Global Shortage of Silicon Wafer Chips Fuels Onoing Growth and High Throughput Demand
Given the opportunity for additional revenue from increased demand amid the limited supply for many products incorporating silicon wafer chips, fabricators must focus on maximizing output with the raw materials they have and avoid waste at every step of the complex fabrication process. The implementation of advanced non-contact thickness measurement tools may hold the key.
Measuring the 2.5d Profile of silicon wafers for increased wafer fabrication efficiency and integrated circiut yields
Accurately measuring semiconductor chips early in the manufacturing process allows product engineers, quality managers, plant managers, and lab managers to identify product issues as soon as possible. These early catches allow for alterations to reduce the waste costs and product defects.
Lumetrics Awarded Contract from the Army Research Lab
Lumetrics, a manufacturer of precision non-contact thickness measurement and non-contact optical inspection systems, today announced a Small Business Innovation Research (SBIR) contract with the Army Research Lab (ARL) to ensure the quality development of transparent armor (TA) products, such as ballistic and blast-resistant glass.
ACHIEVING HIGHER QUALITY & EFFICIENCIES WITH NON-CONTACT THICKNESS MEASUREMENT
The ability to produce high-quality products that meet the stringent requirements of the FDA and other regulatory bodies is critical for all medical device manufacturers.
AUTOMATED OPTICAL INSPECTION AND MULTI LAYER MEASUREMENT
Utilizing optical metrology solutions such as the Lumetrics OptiGauge II to measure multi-layer structures for R&D, quality, and/or production purposes will result in optimal product performance.
Windshield Wedge Angle and Layer Thickness Measurements
A small degree of wedge angle has been found useful in minimizing ghosting in automotive windshields with Heads Up Displays (HUD). The Lumetrics OptiGauge II can measure the thickness of all layers of a laminated windshield simultaneously and is capable of determining the wedge angle as a function of location on the windshield with a high degree of accuracy as well as determining how much wedge is in each layer.
Advanced Driver Assistance System (ADAS) Windshield Measurements
Advanced driver assistance system (ADAS) works as the name describes. ADAS systems provide the driver information on hazards and potential hazards on the road. The complex software algorithms behind the ADAS hazard identification process rely upon highly accurate telemetry data coming from multiple sensors. One key sensor is a forward looking windshield mounted camera.
Automotive Glazing Presentation by Filipp Ignatovich, Ph. D.
Optical measurements are surprisingly simple and intuitive. You have a source of light; the light then interacts with the windshield; and then a detector analyzes the light after the interaction. There are only two types of interactions with the windshield – light passing through (transmission) and light reflecting from the windshield.